Performing a Soil Health Assessment
Schedule an assessment & consultation with a conservation planner
Here are four easy tests that you can conduct at home to understand and monitor your soil health over time. Select one to jump to the text instructions:
We recommend conducting these tests once a year, or at least once every few years, to understand how your management is impacting your soil health. Use the chart at the end of this page to note your results.
Equipment Needed
- A 6 inch length of 6 inch diameter metal pipe
- 15 oz. (444 ml) measuring device
- Wire flag
- Square-nose edging shovel (but a regular shovel will work)
- Kitchen strainer
- Glass of water
Soil Pit Test
To understand your soil, you need to get on your hands and knees and look at it! Not just the surface, either, but at least one foot into the root zone.
Before you start digging, observe the soil surface. Is there residue covering the majority of the soil surface? If so, is it decomposing as expected? Or are you seeing residue building up from several crop seasons?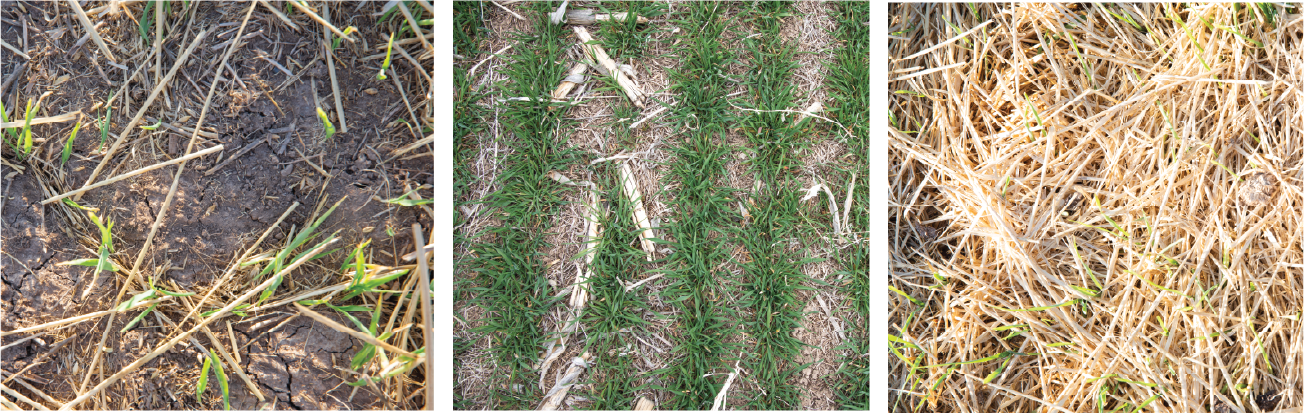
Low, medium, and high residue cover levels.
Once you are ready to dig, use a shovel to mark a one foot by one foot square by pushing the blade into the soil approximately 1 foot deep. Carefully pry up the 1 foot block of soil and lay it top down next to the hole.
Look in the hole for worms, worm holes, and other bio pores. 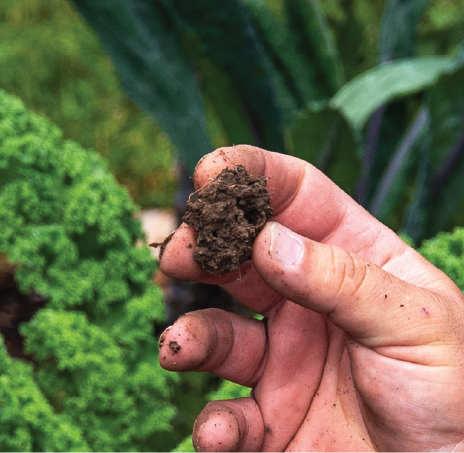
Also notice your plant roots – are they growing straight down? Or is there a layer that is forcing them to grow horizontally?

Is there a crust at the surface?
Now go through the block of soil you removed. Can you find at least 3 non-pest organisms (such as worms, pill bugs, ladybugs, etc)?
Notice the soil structure - is the soil in blocks or “platy” layers? These types of soil structures can indicate compaction issues or other concerns that will make it difficult for crops to grow. Healthy soil will be granular with small soft clods with lots of spaces for air and water to move through.
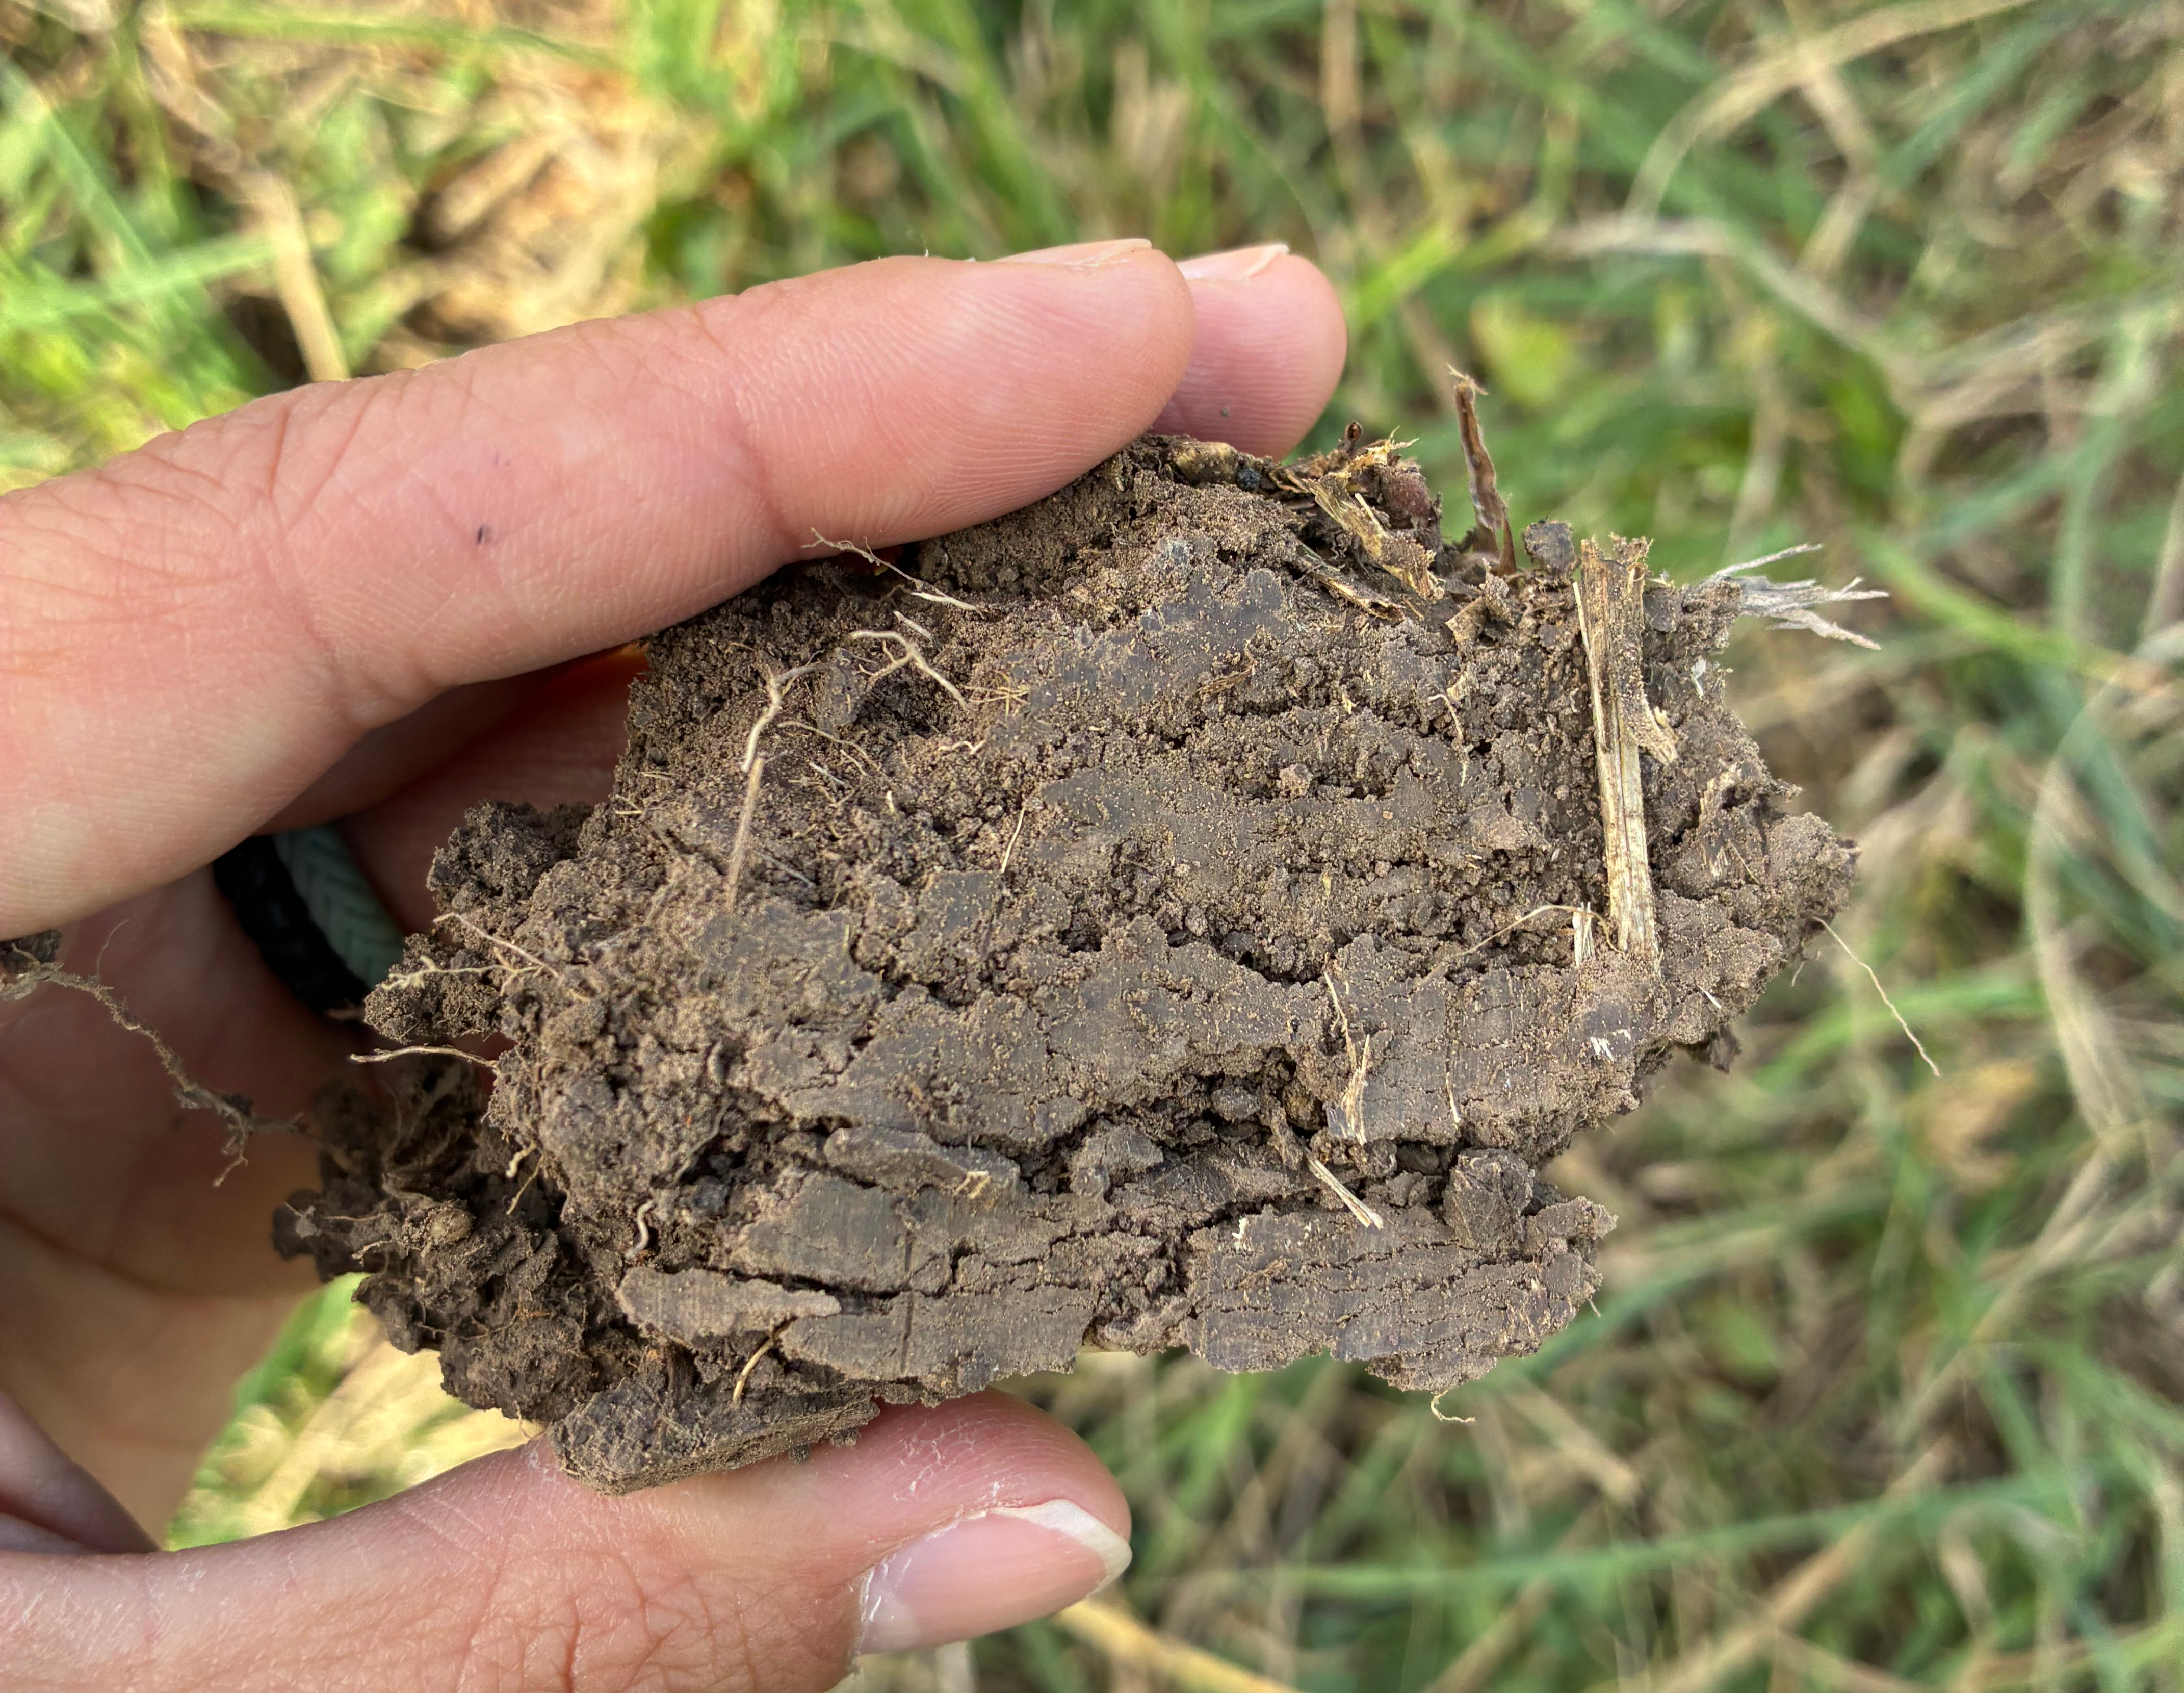
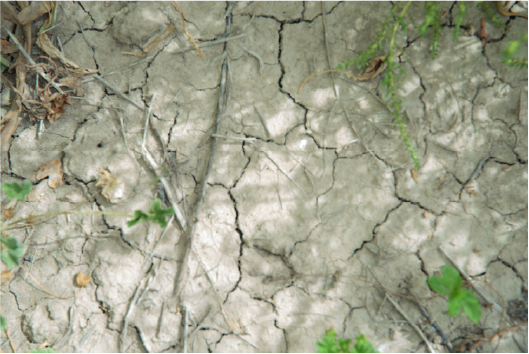
Platy, poorly structured soils
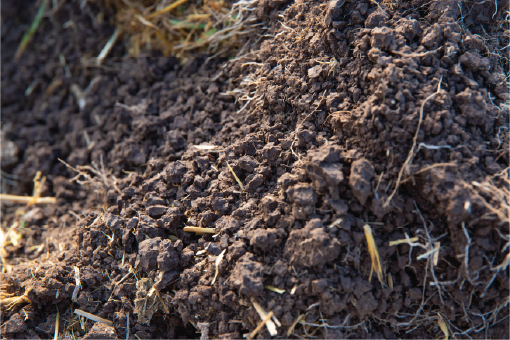
Healthy clay soils
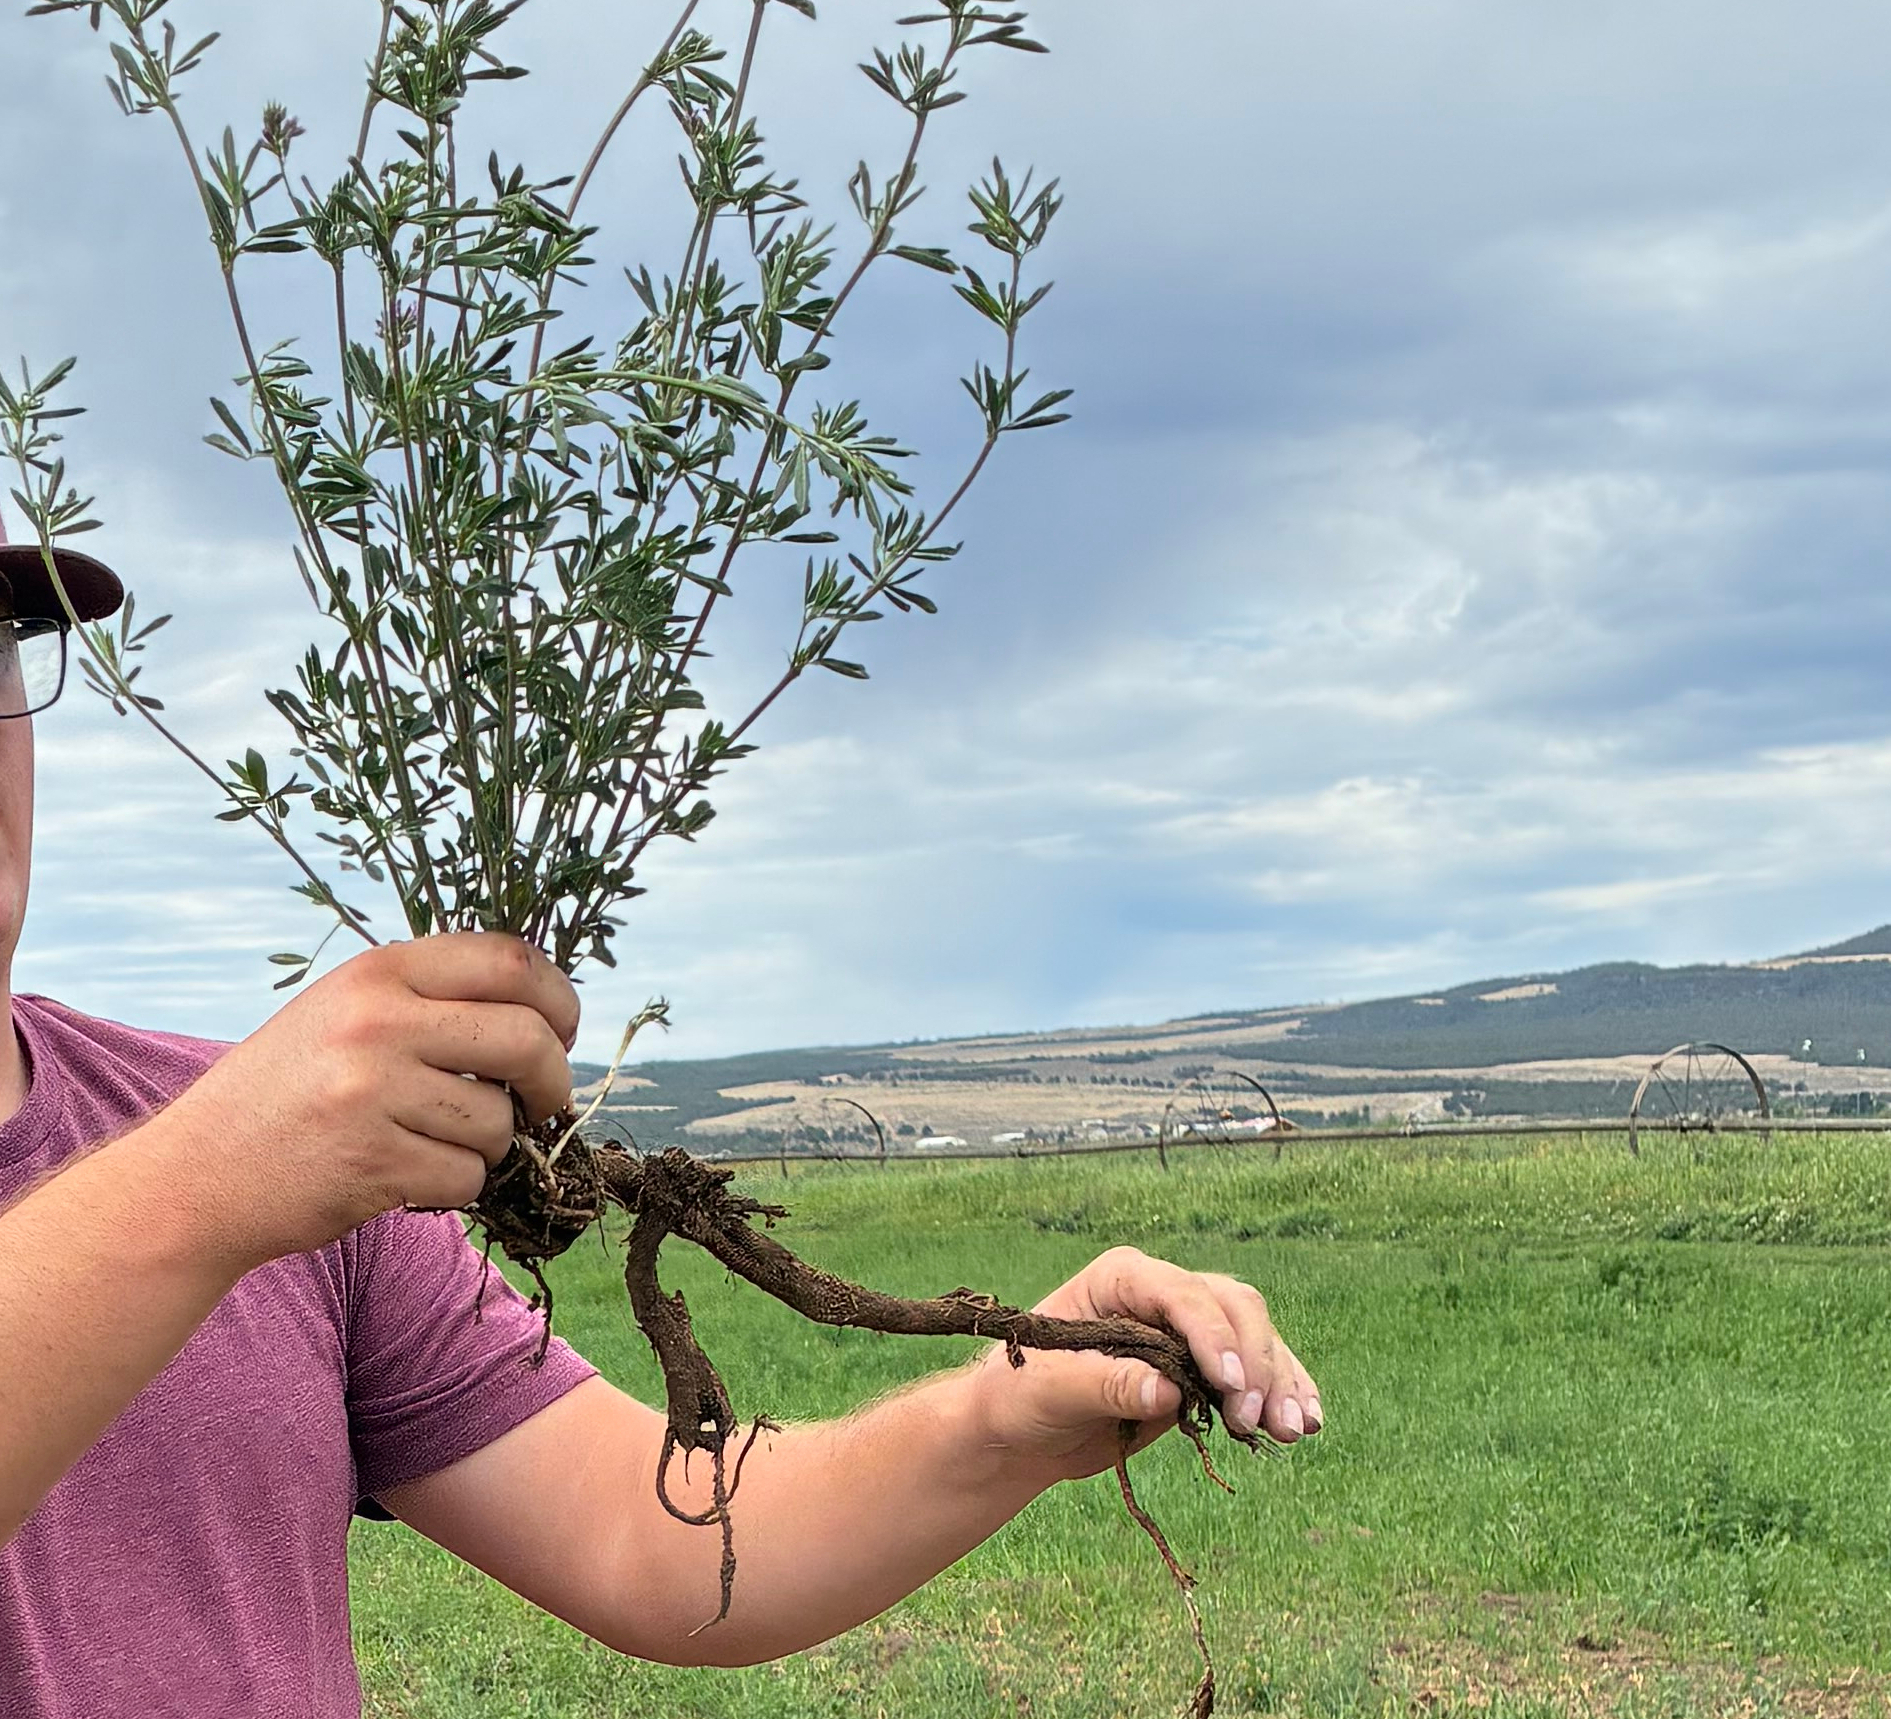
Look closely at the roots of plants. Is there soil or small aggregates clinging to root hairs? This is a sign of a healthy soil. White bare roots without tiny root hairs indicate lack of biological activity. Do the little clods have tiny roots or root like structures (fugal mycelia) that hold the clod together? If so this is good, as it helps plants get nutrients and water and prevents the soil from breaking down.
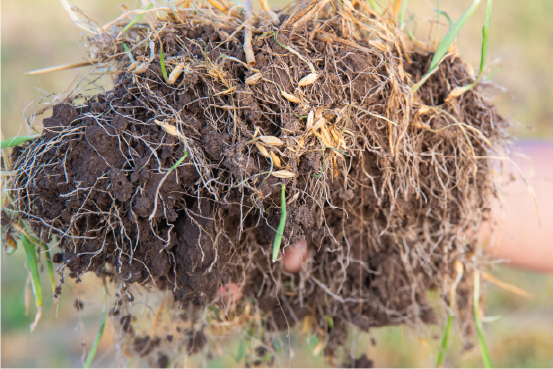
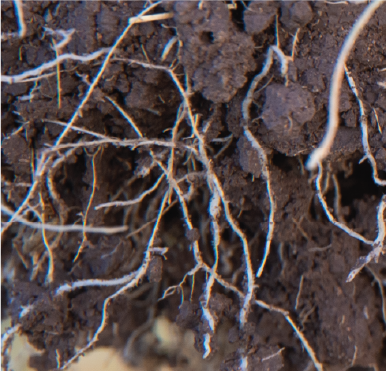
Close-up of soil clinging to roots
Now, get a sample of soil (a single 6 inch deep shovel wide wedge will do) from an undisturbed area such as a fence line near the edge of the field. Compare the color of the undisturbed soil to that of the soil pit in the field. If the soil from the fence line is darker than the pit, you have lost organic matter in the field. If it is about the same, that means you have not gained or lost significant amounts of carbon. If the soil in the field is darker than the fence line, you are building organic matter in your field. 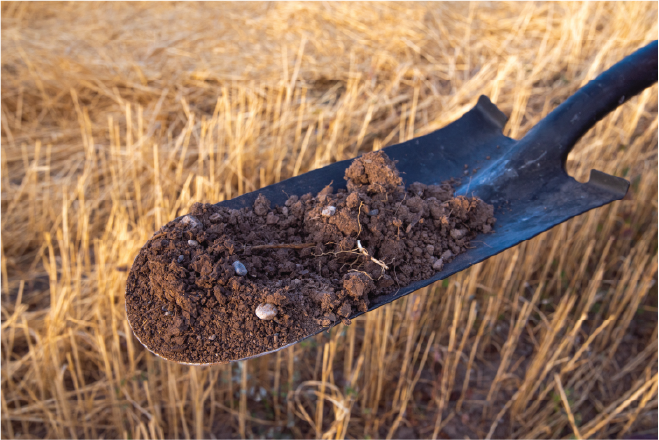
Soil Compaction Test
A wire flag can be used to determine if there is a significant soil compaction problem. Make sure your soil is reasonably moist for this test. Soil that is excessively dry or moist will skew your results.
- Using your thumb and forefinger, grasp the wire post of the flag about 6 inches from the bottom of the wire.
- Using just your thumb and forefinger, push the wire into the soil. Do not push so hard as to bend the wire.
- Measure how deep you were able to push the wire into the soil. If you were able to push the wire less than 6 inches into the soil, you likely have a compaction issue.
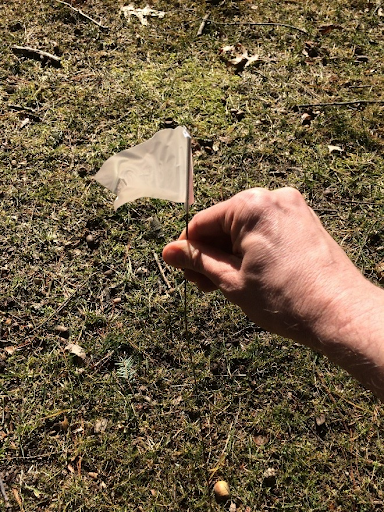
Photo from Rutgers New Jersey Agricultural Experiment Station
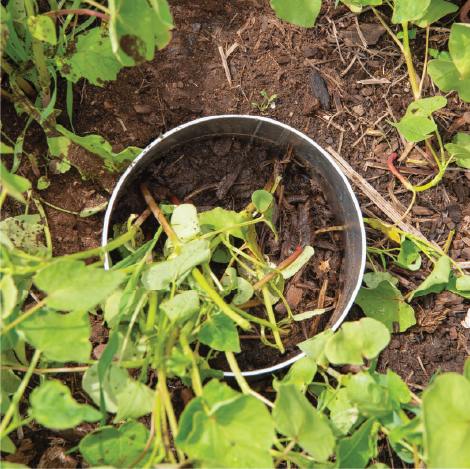
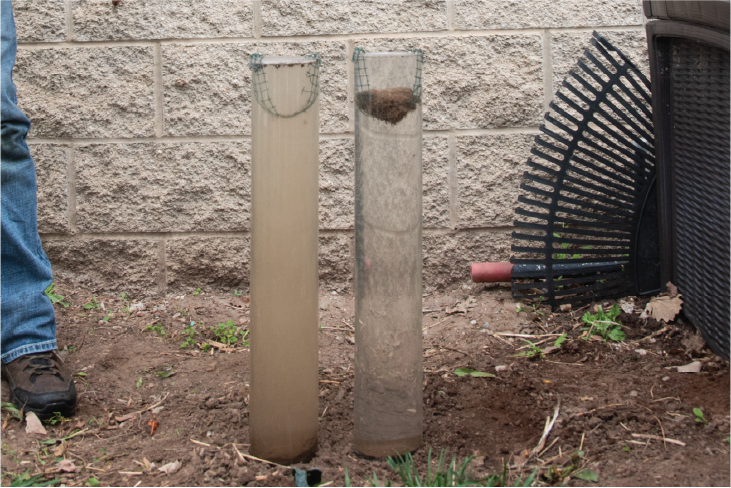
Soil Infiltration Rate Test
To understand your soil structure and minimize risk of runoff, erosion, ponding, or crusting, you must know how fast water enters your soil. Perform the following to test how quickly water infiltrates your soil.
Create a 6” x 6” metal pipe:
- Find a thin 6-inch diameter metal wall pipe and cut off a 6-inch length.
- Make a mark around the diameter of the pipe 2 inches from one end. It is also helpful to bevel the edge on the 4-inch end of the pipe, if possible.
Go to the site that you would like to conduct your test.
Before you begin, take note of how wet or dry your soil is. The ideal condition for running this test is to have your soil at field capacity (approx. 24-48 hours after irrigation). If your soil is fully saturated, wait a couple of days until your moisture content has come down to field capacity to run the test. If your soil is below field capacity, run the test and take note of the special instructions for dry soils.
To begin the test:
- Pound your metal pipe 4 inches into the soil (beveled edge down) using a small block of wood and rubber mallet until 2 inches of pipe remains aboveground.
- Add 15 ounces of water (444 mL) to the soil slowly without disturbing the soil surface (You may lay your hand palm up on the soil surface and pour the water over your hand). 15 oz of water equals approximately 1 inch of water in a 6 inch pipe.
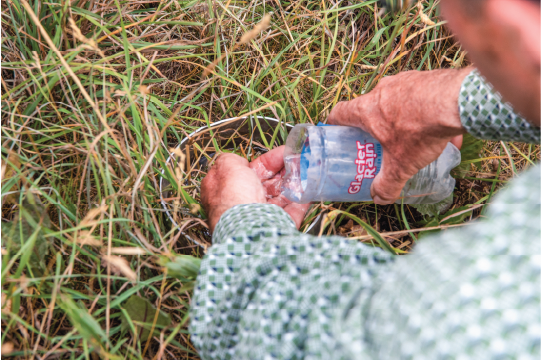
- Once you have finished pouring the water into the pipe, start a timer and time how long it takes for all of the water to go into the soil. Stop the timer when there is no standing water and the soil glistens. Record the time.
Extra instructions for dry soil:
- If the soil is drier than field capacity, leave the metal pipe in the ground, wait 20 mins, and then add another 15 oz of water.
- Time how long it takes for this second inch of water to infiltrate and record the results. Dry soil will absorb the water particularly quickly and skew your results.
The first inch will “prime” your soil and bring it to field capacity, so that you can accurately measure how fast the next inch of water will infiltrate. When interpreting your results, pay attention to how long it took the second inch of water to infiltrate, rather than the first.
If it takes more than 10 mins for your soil to infiltrate one inch of water, you likely have a compaction issue and consequently a poor soil structure.
Slake Test
The slake test measures soil stability (aggregation). This refers to the ability of the soil to remain stable and absorb water without disintegrating. Well-aggregated soils allow the movement of air and water through the soil without losing their structure.
- Select a golf-ball-sized soil aggregate and place it in a sink strainer.
- Place the strainer in a bowl of water so the aggregate is submerged.
- Set a timer for 5 minutes.
- After 5 minutes, observe the aggregate and water in the bowl and answer the following:
- Does the water still look fairly clear?
- Does more than 80% of the original aggregate remain in the strainer?
- Dump the aggregate upside down onto a flat surface and answer the following:
- Did the aggregate maintain its shape?
- Is the aggregate fully saturated with water?
If the answers to the questions in step 4 and 5 are "yes", you have a well-aggregated soil. If the aggregate disintegrates and turns into a pudding-like consistency, or your aggregate did not fully saturate, your soil likely has poor aggregation or structure.
If you conduct these tests and still find you need more assistance assessing the current state of your soil, or if you would like to work with a planner to create a Soil Health Plan for your property, reach out to the Utah Soil Health Partnership via ***.